欧博百家乐How to install Razer Synapse 2.0
Razer Synapse 2.0 Support
Razer Synapse 2 will continue to operate on existing PCs but cloud-related features will no longer be supported effective October 28, 2025.
Notes:
You can still log in with your Razer ID to access local profiles.
Existing settings, such as Profiles and Macros created before the sunset date, will remain stored locally.
You can manually export settings to another PC using Razer Synapse 2.
Cloud syncing of new settings to other PCs will no longer be supported.
To ensure a smooth transition, log in with your Razer ID and export any Profiles or Macros you want to keep.
See the answer below for details.
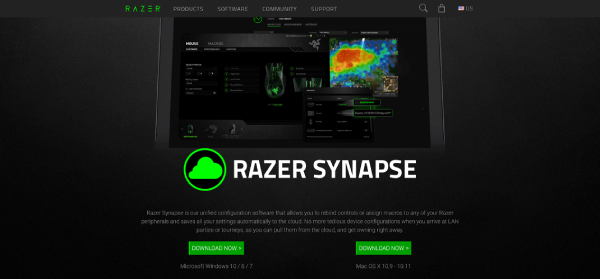
Installing Razer Synapse 2.0 allows you to rebind controls or assign macros to any of your Razer peripherals and saves all your settings automatically to the cloud.
For Razer Synapse installation instructions, see How to install or upgrade Razer Synapse.
Step-by-step process
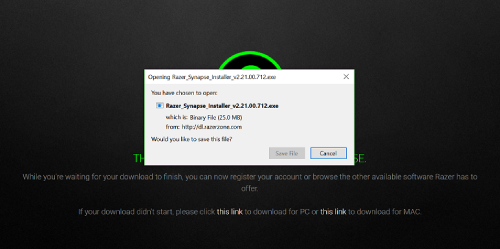
Visit the Razer Synapse 2.0 download page and download the appropriate installer (Windows OS or Mac OS).
Save and download the installer.
Once the download has completed, install the application. To do this, follow the steps below.
Run the Razer Synapse 2.0 installer.
Once the InstallShield Wizard window is displayed, click "Next" to continue.

Review and accept the terms in license agreement then click "Next".

Click "Install" to initialize the installation process.

Wait for the installation process to complete. Once done, click "Next".

Click "Finish".

After completing the installation, log in to your Razer ID account.

Once logged in, Razer Synapse will automatically detect any available Razer device on the computer and update accordingly.

Congratulations! You have successfully installed Razer Synapse 2.0.